How to vectorize raster images for free online?
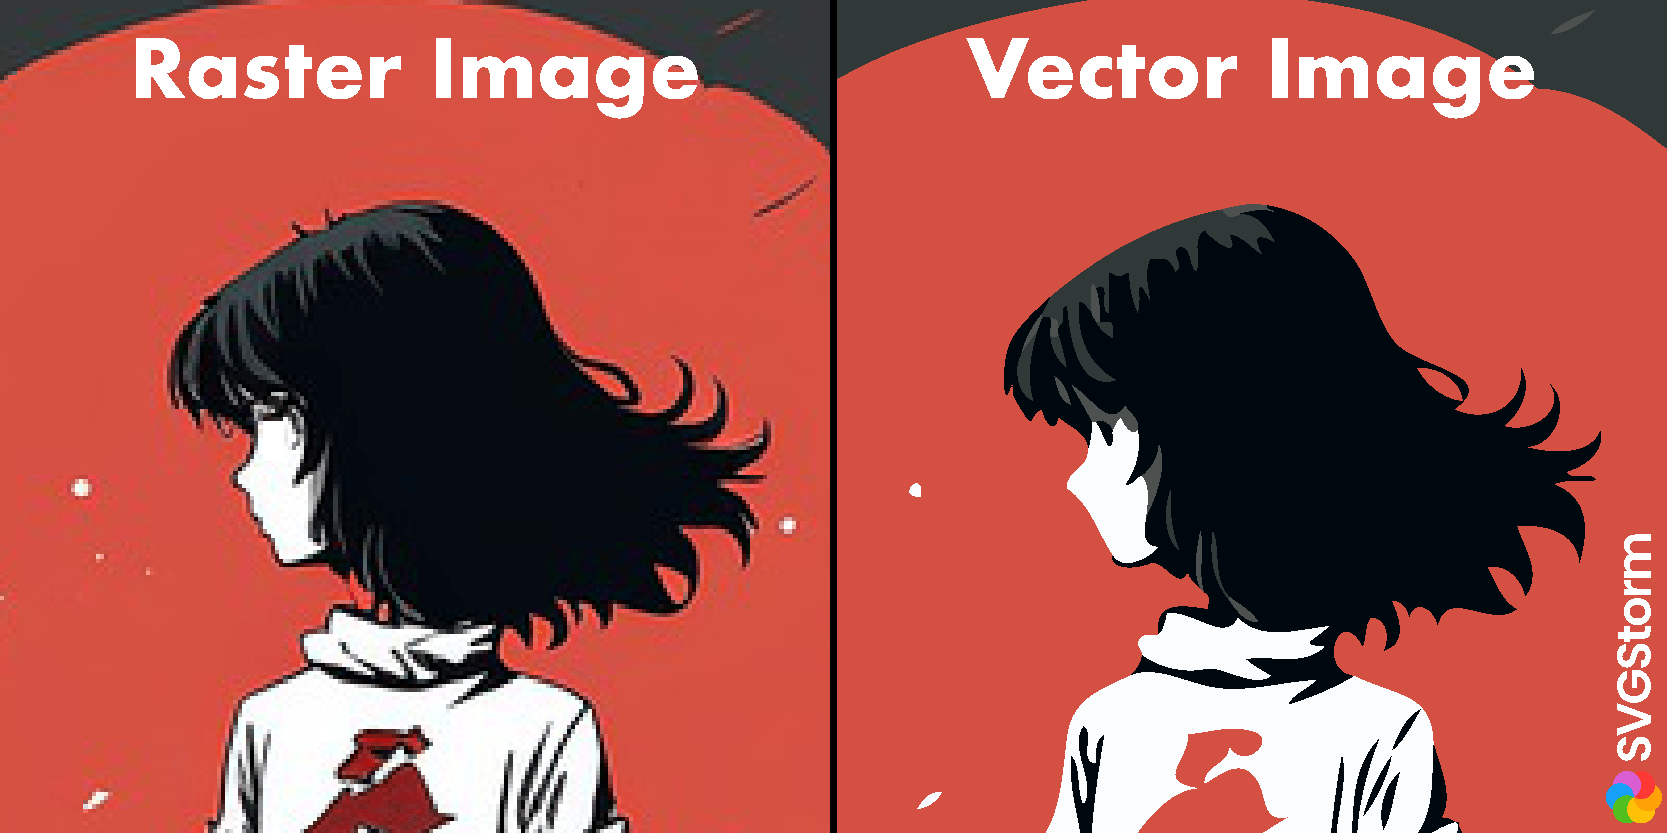
Vectorizing a raster image, also known as image tracing, is the process of converting a raster image (a grid of pixels) into a vector image (a series of geometric shapes). This can be useful for a variety of reasons, such as improving the quality of an image or making it easier to edit and resize.
Traditionally, we have software like Adobe Illustrator, Photoshop or CorelDraw. However, this software comes with many limitations, such as Cost, Installation, skill, time and effort. SVGConverter is an online free vectorizer that generates premium quality vectors. You do not require any skill to use it and moreover, it is free.
Vectorizing raster image to vector for free online with SVGConverter
Here are steps you can follow to vectorize a raster image with SVGConverter's online free app:
- Visit svgconverter.app and open its online free vectorizing app.
- Now, open the raster image you want to vectorize in the online app.
- Next, the Uploaded image is visible in the left canvas. You can hide the raster image by using the top menu bar to display only the right canvas, which is where vectorized results get displayed.
- Click the vectorize button, to generate the vectorize result. This will generate the vector. The vectorization may take a few moments, depending on the size and complexity of the original image.
- If you're satisfied with the settings, click the "Download" button to download the image vector in the following format: AI, SVG, EPS and PDF.
- There are many settings that you can play around to modify the vector.
- First, users can control the level of detailing from high to very low. When selected high, the vectorization will try to include all minor aspects of the raster image. On the contrary, low detailing removes the smaller details from the final vector, which also means less noise.
- SVGConverter also supports transparency; you can retain or replace the transparency when a transparent image is uploaded to the app.
- When working with color images, users can use the "unlimited" option to automatically generate the color palette for the image. This works best when working with photos and real life images.
- Or users can use the "custom" option with manually built a color palette either picking each color individually or automatically generating by entering the number of colors.
- Adjust the threshold and path settings as needed to fine-tune the image tracing. The threshold setting controls how accurately the vector image will match the original raster image, while the path setting determines how smoothly the resulting vector shapes will be.
- After the palette is selected and vectorize the image by clicking the "vectorize" button.
- You can further edit the vector image by selecting the image edit option in the top menu bar.
- Smoothness and curve fitting options are useful to adjust how well the vector curves are fitted.
- When you're happy with the final vectorized image, save it in a vector format such as AI, SVG, PDF or EPS. This will ensure that the image maintains its high quality and scalability even when resized or edited.
Overall, vectorizing a raster image can be a useful way to improve the quality and flexibility of an image. By following these steps and experimenting with the various settings and options, you can create professional-looking vector images from your raster images.
In addition to the steps outlined above, there are a few other things you can keep in mind to get the best results when vectorizing a raster image.
One important thing to consider is the resolution of the original raster image. The higher the resolution, the more accurately the vector image will be able to capture the details of the original. It's generally a good idea to start with a high-resolution raster image to ensure that the vectorized version will be of good quality.
Another thing to keep in mind is the complexity of the original image. Vectorizing a raster image can be a computationally intensive process, especially for complex images with many fine details and gradients. In these cases, it may be necessary to experiment with different settings and options to find a balance between accuracy and performance.
Additionally, you can use a variety of tools and techniques to further refine the vector image after it has been traced. This can include using the "Bucket fill" or "Pencil" tools to add or modify individual shapes, or using the "Smoothness" option to smooth out complex paths.
You can read complete documentation on how to use SVGConverter here.
Overall, vectorizing a raster image is a powerful way to improve the quality and flexibility of an image. By following the steps outlined above and experimenting with different settings and techniques, you can create professional-looking vector images from your raster images.